Why the checklist matters
Most deposit disputes are record disputes. A resident says the carpet was already worn. You say it was not. Whoever has the dated photo wins, and if neither does, the argument runs on memory. A move-out checklist is how you make sure there is a photo.
It also does something quieter. It tells the resident what you expect, in writing, before they leave. Residents who know the standard usually leave closer to it.
The checklist also helps the owner. A move-out is the moment an owner sees what condition their property is in after a tenancy, and it often decides how much the turnover costs. A clear record gives the owner a fair picture, and it gives you a clean answer when they ask why a deduction was or was not taken.
The sequence
Move-out
Which of these are required, and when, depends on your lease and on state and local law.
Step 1: log the notice
When the resident gives notice, record the date, the method and the move-out date they gave. Check it against what the lease requires. If it is short or unclear, write back right away with what you have recorded and what you need. Do not wait until the last week to find that the notice does not fit the lease.
If the move-out follows a non-renewal, the non-renewal letter is the start of the record.
Step 2: send the resident handout
Moving out of [property address]
Your move-out date is [date]. Here is what we need from you:
- Keys, fobs and remotes. Return all of them to [location] by [time] on [date].
- Forwarding address. Send it to [contact] by [date], so we know where to send any mail, including your deposit letter.
- Clean the home. We expect it clean, as it was at move-in, apart from normal wear. The attached list shows what that means.
- Remove everything. Furniture, items on balconies, storage and the garage.
- Utilities. Keep them on in your name until [date] and send us the final reading if the lease asks for it.
- Walk-through. We will inspect on [date and time]. You are welcome to join.
Questions: [name, phone, email].
Keep it to a page. Attach a room-by-room cleaning list if you have one.
Step 3: the pre-inspection, where allowed
Some places and some leases allow or require a pre-move-out inspection that tells the resident what would be deducted if nothing changed. Others do not. Where it is allowed, it is the best tool you have: it turns a surprise into a to-do list. Ask counsel whether it is available, required or restricted where you operate, and what notice it needs. A notice of entry usually applies.
Step 4: the walk-through
| Area | What to check and record |
|---|---|
| Entry and keys | Locks work, every key, fob and remote returned and counted |
| Floors | Stains, damage, wear beyond normal use, photo of each room |
| Walls and ceilings | Holes, marks, paint condition, photo of each wall with damage |
| Kitchen | Appliances, cabinets, counters, what is left in them |
| Bathrooms | Fixtures, grout, mold, drains |
| Windows and blinds | Glass, screens, blinds, any missing |
| Outdoor areas | Balcony, patio, storage, garage, anything left behind |
| Safety items | Smoke alarms present and working, per your policy |
Photograph each room from the same corner you used at move-in, with the date visible in the file. Take a close photo of every item you may list as damage. Note the room and the item in the file name.
Compare against the move-in inspection. Record what changed and what did not. Worn is not damaged: normal wear is the owner's cost, and what counts as normal wear is a question for counsel in your state.
Invite the resident to the walk-through if your lease and local rules allow it, and if they want to come. Walking the unit together turns many potential disputes into conversations on the spot: the resident sees the stain you are photographing, and can tell you it was there at move-in, which you can check against the move-in photos right then. Where they cannot come, tell them in writing when the walk-through will happen and that photos will be taken.
Collect every key, fob, remote and access card, and count them against what was issued at move-in. Record any that are missing. Note the meter readings for any utilities the resident paid, and photograph the meters. Ask for a forwarding address in writing if you do not already have one, because the deposit letter has to reach the resident and many states set rules on where and how it is sent.
Step 5: build the deposit file
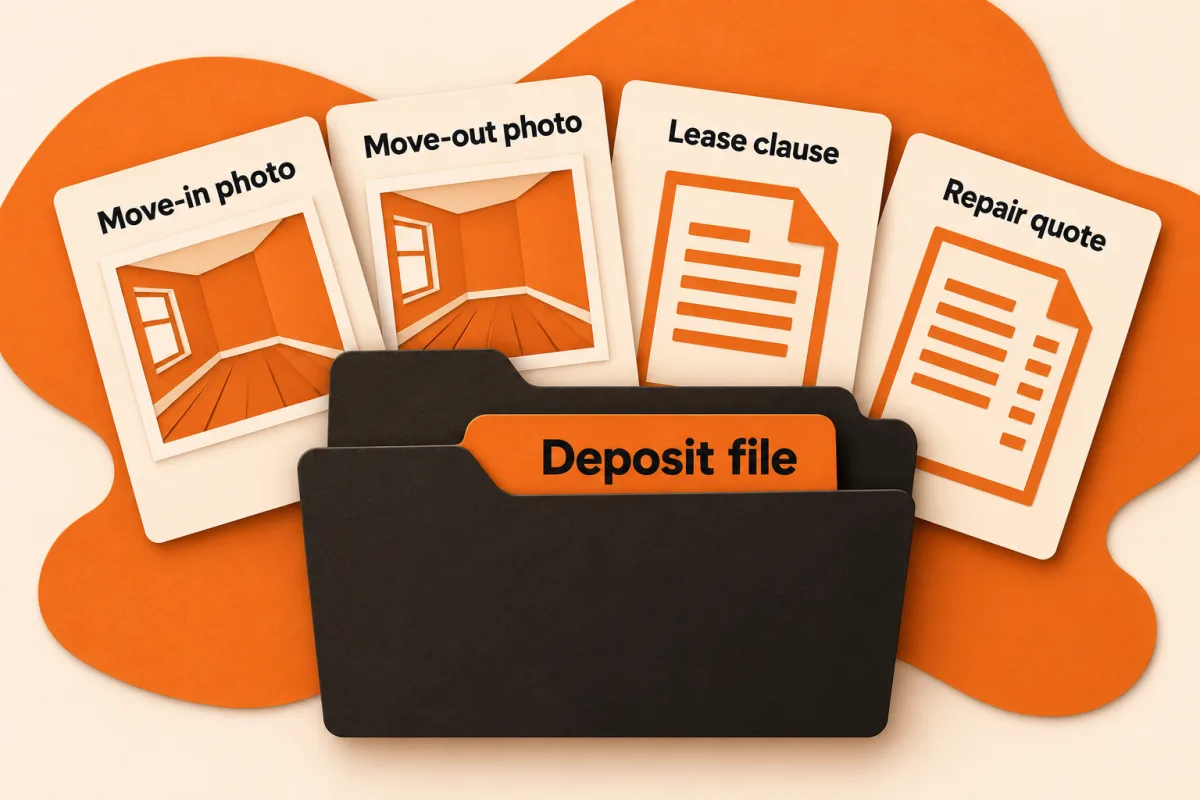
Do this the same week. For each item you may deduct, the file should hold:
- The move-in photo or note.
- The move-out photo.
- The invoice, quote or your own cost basis, as your policy says.
- The lease clause that supports it.
If an item lacks any of these, think twice before charging it. The deadline for returning the deposit and what the letter must say are set by state and local law, and they differ. The deposit deduction letter shows how to itemize once the file is complete.
This is a working template, not legal advice. Deposit deadlines, allowed deductions, inspection rules and required wording depend on your lease and on state and local law. Check yours with your own counsel before using it.
After they leave
- Change the locks or rekey, per your policy.
- Move the unit to turnover, and tell maintenance and leasing the date it will be ready.
- Send the deposit letter by the deadline, to the forwarding address, by the method required.
- Close the file with the date sent and a copy of what was sent.
A walkthrough: one move-out, start to finish
Say a resident in a one-bedroom unit gives written notice by email, with a move-out date at the end of next month. Here is the move-out when every step is done.
The property manager logs the notice the same day: the date received, the method and the move-out date. The lease requires notice of that length, and this one meets it, so the manager replies to confirm the move-out date in writing. The handout goes out a few days later with the date, the cleaning standard, how to return keys, and a request for a forwarding address.
The lease allows a pre-move-out inspection. Two weeks before the move-out date, the manager walks the unit with the resident and notes three things that would be deducted if left as they are: a hole in the bedroom wall from a mounted shelf, a broken blind and a heavily stained oven. The resident patches the wall, replaces the blind and cleans the oven before they leave.
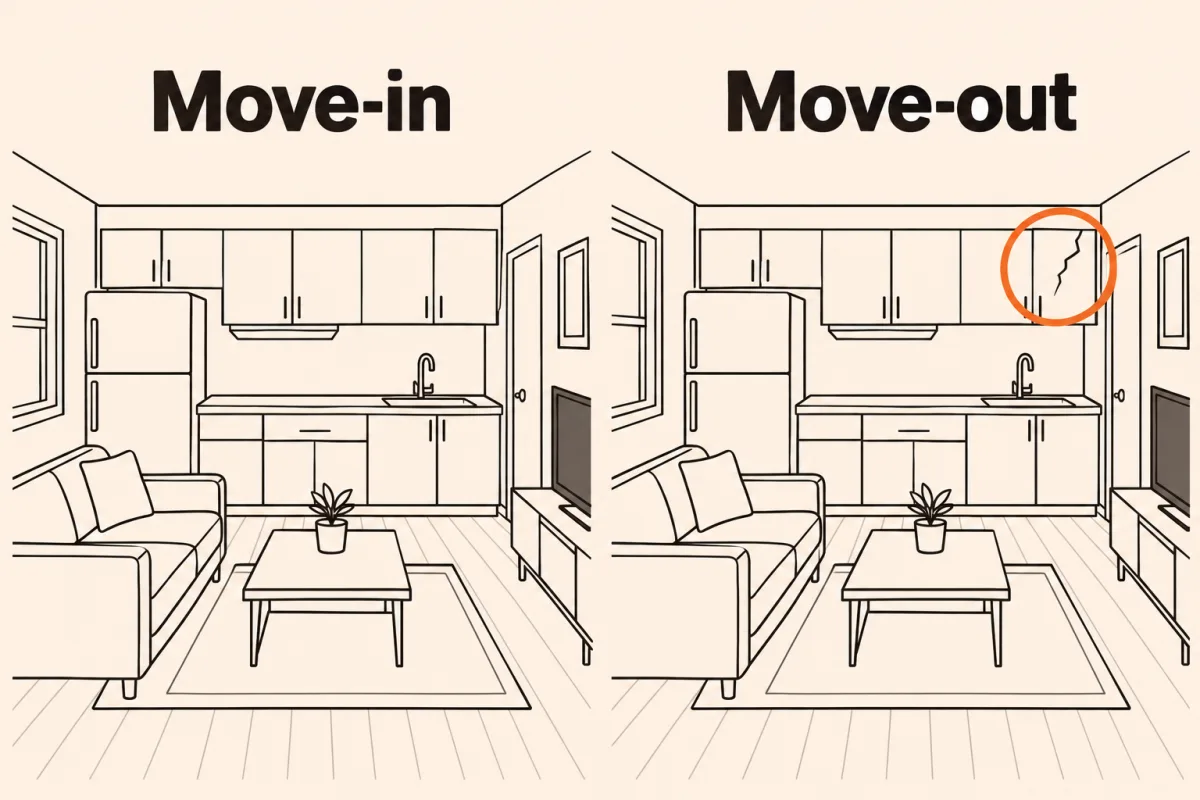
On move-out day, the manager does the final walk-through, photographing each room from the same corners as the move-in photos and close up on anything that changed. The patch is visible but tidy; the manager notes it as repaired. One kitchen cabinet door has a split that was not in the move-in photos. All keys are returned and counted. The forwarding address is in the file.
That week the deposit file is built: the cabinet door with its move-in photo, move-out photo, the lease clause and a quote for the repair. Everything else is normal wear and is recorded as such. The deposit letter goes out well within the deadline, with one deduction and its evidence. The resident does not dispute it, because they can see exactly why it was charged.
Common mistakes
No move-in record to compare against. A move-out checklist only works if the move-in inspection exists. If it does not, start doing move-in inspections now, for every new lease, so the next move-out has a baseline.
Photos without context. A close-up of a stain with no room, no date and no wide shot proves very little. Take the wide shot first, then the close-up, and name the files by room and item.
Charging normal wear. Faded paint, light carpet wear and small nail holes are usually the owner's cost. Charging them invites a dispute and, in some states, penalties. Check your state's rules with counsel.
Building the file weeks later. Memories fade, contractors lose quotes, and the deadline for the deposit letter keeps running. Build the file the same week.
No forwarding address. A deposit letter with nowhere to go creates a problem you cannot fix later. Ask for the address in the handout and again at the walk-through.
How to adapt it
For single-family homes, add the outside: the yard, the gutters if the lease makes them the resident's job, the garage and any appliances that came with the home. Owners of single-family rentals often want to see the move-out photos themselves, so share the file with them before the deposit letter goes out.
For multifamily buildings, the challenge is volume and timing. Several move-outs can land on the same day at the end of a month. Schedule walk-throughs in advance, use the same photo order in every unit, and keep one file format for every move-out so anyone on the team can build the deposit letter.
If you use AppFolio, Buildium, DoorLoop or Rent Manager, check whether its inspection tool stores dated photos against the unit and the lease. If it does, use it for both move-in and move-out so the comparison sits in one place. If it does not, a shared folder per unit with a consistent naming pattern works fine.
Handing over to the turnover
The move-out walk-through is also the first step of getting the unit ready for the next resident. Use the same notes to build the turnover work list: what needs repair, what needs cleaning, what needs replacing. Send it to the vendors the same week, so the unit is not sitting empty while quotes come in. Keep the deposit evidence and the turnover work list separate, though. The deposit letter can only charge for damage beyond normal wear, while the turnover may include upgrades or routine refresh work the owner pays for regardless.
Draft it with AI
Put your lease, your move-out handout and the walk-through table in a ChatGPT or Claude Project, attach the move-in inspection, and send:
Using only the attached lease, move-in inspection and the checklist in this Project, build the move-out checklist for [unit] with the dates from the resident's notice: [notice date, move-out date]. List what the lease says the resident must do before leaving, the items noted at move-in that I should check first, and any lease clause on cleaning, keys, utilities and forwarding address. Then draft the resident handout from the template with these dates. If a date or clause is missing, say so instead of guessing.Check it against the lease before it goes. The model organizes. A person confirms the dates and the clauses.
Before the resident leaves
- The notice and move-out date are recorded and match the lease.
- The handout has gone out with every date filled in.
- You have the move-in inspection and photos in hand.
- Every key, fob and remote is counted and logged.
- Each possible deduction has a photo pair, a cost and a lease clause.
Questions
What should be on a move-out checklist?
Notice logged, a resident handout, a walk-through with photos of every room, keys and fobs counted, forwarding address, and a deposit file for each possible deduction.
Should I do a pre-move-out inspection?
Where your lease and local law allow it, yes, because it lets the resident fix things before they leave. Check the rules and notice requirements with your own counsel.
What photos do I need at move-out?
Each room from the same angle as move-in, and a close photo of every item you may list as damage, saved with dates and room names.
Can AI build a move-out checklist?
It can build one for each unit from your lease and move-in inspection. A person confirms the dates and clauses before it goes to the resident.